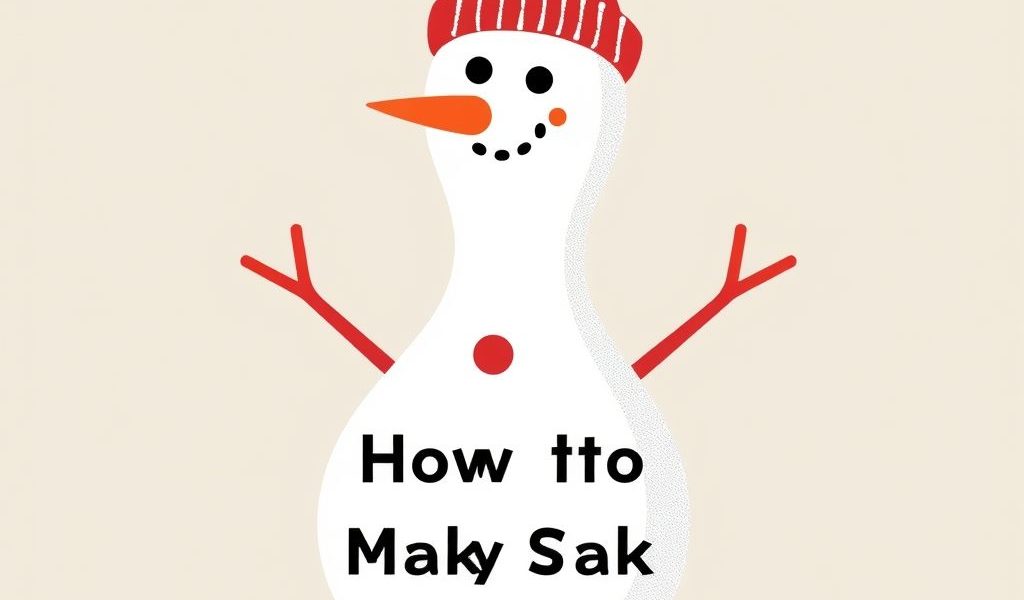
Creating sock snowmen is a delightful and simple craft that brings warmth and personality to your winter decorations. Whether you’re looking for a fun holiday project with kids or a cozy DIY gift idea, these charming little characters made from socks, rice, and a few accessories are easy to assemble and customize. They don’t require sewing or complicated tools, making them an accessible activity for beginners or seasoned crafters alike. Using mismatched or single socks you may already have at home, sock snowmen offer a creative way to recycle while adding a festive, handmade touch to your decor.
Materials Needed for Sock Snowmen
Before you begin, gather all your supplies so the process flows smoothly. Most of these items are inexpensive or can be found around the house.
- White crew socks or ankle socks (for the snowman body)
- Colorful socks (for the hat and scarf)
- Uncooked rice (for stuffing)
- Rubber bands or string
- Hot glue gun or craft glue
- Buttons, ribbon, fabric scraps, or felt (for decoration)
- Black beads, push pins, or small buttons (for eyes)
- Orange felt or paper (for the nose)
- Scissors
- Marker (optional for drawing the face)
Step-by-Step Instructions to Make Sock Snowmen
Step 1: Prepare the White Sock
Start by taking a clean white sock and cutting it straight across above the heel. You will use the foot part of the sock to form the snowman’s body. The ankle portion is not needed for this project, but you can save it for another craft.
Step 2: Fill the Sock with Rice
Turn the sock inside out and then right side in again so it stands more naturally. Pour uncooked rice into the sock using a funnel or a cup, filling it until the base is firm and rounded. This will form the snowman’s body. Depending on how large or small you want your snowman, fill the sock about 3/4 full with rice.
Step 3: Seal the Sock
Once the sock is filled, tie the top tightly with a rubber band or string to keep the rice inside. You can double-wrap it for extra security. If you want a more polished look, trim any excess sock above the rubber band.
Step 4: Shape the Snowman
Now it’s time to give your snowman some personality. Use another rubber band to separate the body into two sections one for the larger bottom half and another for the smaller head. Gently squeeze and shape the rice to define the snowman’s body and head, adjusting the rubber band if needed.
Step 5: Add the Hat
To make the snowman’s hat, take a colorful sock and cut off the foot section. Slide the cuff portion over the top of the snowman’s head to form a cozy beanie. You can fold or scrunch the sock to give it style. Secure it with glue if needed, or add a pom-pom for extra flair.
Step 6: Make a Scarf
Use a strip of fabric, a ribbon, or a cut piece from another sock to form a scarf. Wrap it around the neck area, just above the rubber band separating the head and body. Knot it loosely or glue it in place for security. This not only adds charm but also hides the rubber band.
Step 7: Add the Face and Buttons
Glue or press in small black beads or buttons for the eyes. For the nose, cut a tiny triangle from orange felt or paper and glue it below the eyes. You can also draw on the face with a marker if you prefer a simpler approach. Add small buttons vertically on the snowman’s body to mimic a classic button-up design.
Step 8: Customize Your Snowman
Now comes the fun part customizing! You can use glitter glue for a frosty look, add mini earmuffs with pipe cleaners and pom-poms, or glue on tiny mittens made from felt. Give each snowman its own personality and charm by changing colors, accessories, or facial expressions.
Ideas for Displaying Sock Snowmen
Once you’ve made your sock snowmen, think about how and where to show them off during the winter season. Here are a few creative ideas:
- Place them on your mantelpiece with pinecones and twinkle lights
- Use them as centerpieces for holiday dinner tables
- Decorate windowsills or bookshelves
- Give them as handmade gifts to friends or neighbors
- Attach name tags and use them as place cards for festive dinners
Why Sock Snowmen Make Great DIY Projects
Simple and Affordable
You don’t need to purchase fancy materials most items can be found at home or in dollar stores. A single sock can be transformed into a charming decoration in under 30 minutes.
Kid-Friendly Activity
Since there’s no sewing involved, this project is safe and fun for children with adult supervision. It’s a great way to spend quality time together while exploring creativity and holiday spirit.
Eco-Friendly Craft
Repurposing socks and using household items for stuffing and accessories makes this craft an eco-conscious choice. Instead of throwing out lone socks or unused rice, you’re giving them a second life in an adorable form.
Common Variations and Tips
- Instead of rice, you can use poly pellets, dry beans, or even cotton balls for stuffing.
- If you want a scented snowman, add a few drops of essential oil like cinnamon or peppermint to the rice.
- For outdoor-safe snowmen, use weather-resistant fabric and stuff with pebbles or small stones instead of rice.
- Use festive fabrics like plaid or velvet for scarves and hats to match your holiday decor style.
Making sock snowmen is a charming and rewarding winter craft that anyone can enjoy. Whether you’re creating a holiday centerpiece, a handmade gift, or a fun weekend project, these little sock figures bring warmth and joy to the season. With just a few materials and a little creativity, you can craft a unique collection of snowmen that reflect your personality and brighten your home during the colder months. They are easy, budget-friendly, and endlessly customizable perfect for turning a simple sock into a smiling face that welcomes winter with open arms.