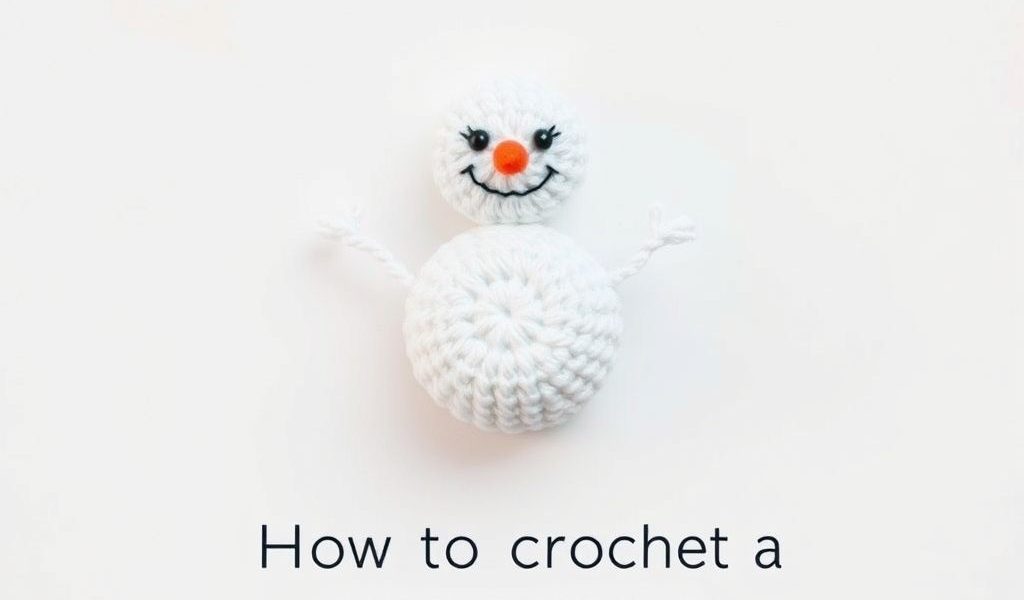
Creating your own crochet snowman is a delightful and rewarding project, especially during the winter season or for holiday decorations. This handmade craft adds a cozy charm to your home and makes for a thoughtful gift. Whether you’re a beginner or a seasoned crocheter, learning how to crochet a snowman is not only fun but also an excellent way to practice shaping techniques and working in the round. This guide will take you step by step through the process, including materials, tips, and pattern ideas to help you build the perfect crocheted snowman from head to base.
Materials You’ll Need
Before you start crocheting your snowman, gather all the supplies you need to avoid interruptions during the process. Using the right materials ensures a neat, durable, and adorable final product.
Essential Supplies
- Worsted weight yarn in white (for the body), black (for buttons and eyes), orange (for the carrot nose), and other colors for scarves or hats.
- 3.5mm or 4mm crochet hook (adjust size depending on your tension and yarn type).
- Stuffing material such as polyester fiberfill.
- Tapestry needle for sewing parts and weaving in ends.
- Safety eyes or black yarn for eyes.
- Stitch markers (optional but helpful when working in rounds).
Basic Crochet Skills Needed
If you want to crochet a snowman successfully, make sure you’re familiar with these basic crochet techniques:
- Magic ring (also called magic circle)
- Single crochet (sc)
- Increase (2 sc in one stitch)
- Decrease (sc2tog or invisible decrease)
- Working in rounds (spiral method)
If you’re not comfortable with these stitches, practice on a small project or swatch before starting the snowman.
How to Crochet a Snowman Body
The snowman typically consists of three connected spheres: the head, middle, and base. Each part is made separately and then stitched together. Below is a simple guide for crocheting the snowman body using basic shaping techniques.
Step 1: Crochet the Head
Start with a magic ring using white yarn.
- Round 1: 6 sc in magic ring (6)
- Round 2: inc in each st around (12)
- Round 3: (sc, inc) around (18)
- Round 4: (2 sc, inc) around (24)
- Rounds 59: sc around (24)
- Round 10: (2 sc, dec) around (18)
- Round 11: (sc, dec) around (12)
- Stuff with fiberfill
- Round 12: dec around (6), fasten off and leave a tail for sewing
Step 2: Crochet the Middle Section
Repeat a similar process but make the middle slightly bigger.
- Start with 6 sc in a magic ring
- Increase to 30 stitches in total
- Work several rounds evenly
- Decrease in reverse pattern
- Stuff and close as before
Step 3: Crochet the Base
Make the base the largest of the three balls.
- Start with 6 sc in a magic ring
- Increase to about 3642 stitches depending on the desired size
- Work even rounds for height
- Decrease, stuff, and close
Step 4: Assemble the Body
Once all three pieces are completed and stuffed, use a yarn needle and white yarn to stitch them together, stacking the smallest (head) on top and the largest (base) on the bottom. Stitch around each joint securely.
Adding the Snowman Features
Now comes the fun part: giving your snowman personality with facial features, buttons, and winter accessories!
Eyes and Mouth
You can use safety eyes for a clean look or sew black yarn in small loops to create eyes and a smile. Place the eyes evenly across the head, a few stitches apart. For a mouth, stitch a small curve or line of tiny black dots.
Carrot Nose
Use orange yarn to crochet a small cone for the carrot nose:
- Round 1: 4 sc in magic ring
- Round 2: (sc, inc) around (6)
- Round 34: sc around (6)
Stuff lightly and sew onto the center of the face.
Buttons
Use black yarn to stitch small circles down the middle section of the snowman’s body. You can also use tiny black pom-poms or felt circles if you prefer a textured look.
Scarf
Crochet a small scarf to wrap around the neck. Use any contrasting color you like:
- Chain 4050
- Row 1: sc in each chain across
- Fasten off and weave in ends
Wrap around the snowman and sew lightly to secure.
Hat (Optional)
A beanie or top hat adds extra charm. You can crochet a basic beanie with the same technique used for the head, using a different color. For a top hat, create a small cylinder and add a brim by increasing in the final round.
Variations and Creative Ideas
Once you’ve mastered the basic pattern, you can personalize your snowman in many ways. Here are a few ideas to inspire you:
- Make mini snowmen as Christmas tree ornaments.
- Add stick arms using brown pipe cleaners.
- Crochet a family of snowmen in different sizes.
- Use sparkly or textured yarn to mimic snow.
- Give your snowman a theme add earmuffs, glasses, or a bowtie.
Tips for Crocheting a Snowman
Here are some helpful suggestions to make your snowman crochet experience smooth and enjoyable:
- Keep your stitches tight to prevent stuffing from showing through.
- Mark your rounds if you’re working in a spiral to avoid losing count.
- Choose soft yarns for a cuddly finish or firmer yarns for display pieces.
- Don’t be afraid to play with colors and accessories to make it unique.
Learning how to crochet a snowman is a delightful way to enhance your crochet skills while creating a seasonal decoration you’ll be proud of. Whether it’s for your own home, a handmade holiday gift, or part of a winter-themed display, a crocheted snowman brings warmth and joy to any space. By following these steps and letting your creativity guide the finishing touches, you’ll have a charming snowman that showcases your crochet talent and spreads cheer all winter long.