For anyone learning how to knit, understanding how to create a stockinette stitch is a fundamental skill. This particular knitting pattern is one of the most popular and widely used stitches in both beginner and advanced knitting projects. The clean, smooth side of the fabric created by the stockinette stitch is commonly seen in scarves, sweaters, blankets, and other garments. While it may appear simple, mastering the technique, preventing curling, and incorporating variations can enhance your overall knitting experience.
What Is the Stockinette Stitch?
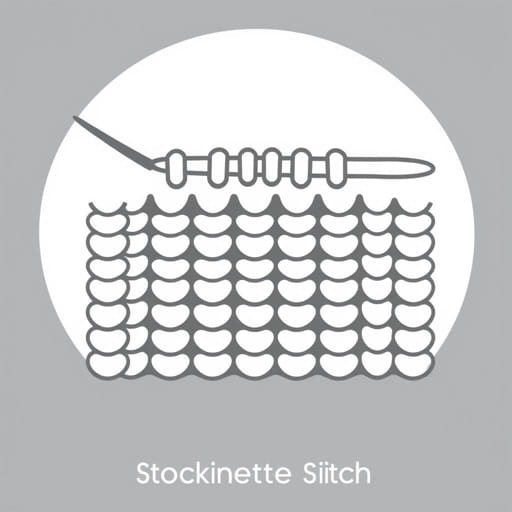
The stockinette stitch is a basic knitting technique that involves alternating rows of knit and purl stitches. The right side (the front) of the work shows a series of ‘V’ shapes, while the wrong side (the back) shows a bumpy texture. This contrast makes the fabric look polished and professional, which is why it is so frequently used in a wide variety of knitting patterns.
Materials Needed
Before you begin learning how to stockinette stitch, make sure you have the proper tools:
- Knitting needles (appropriate size for your yarn)
- Yarn of your choice (medium-weight yarn is ideal for beginners)
- Scissors
- Tapestry needle (for weaving in ends)
Basic Instructions for the Stockinette Stitch
Step 1: Cast On
Begin by casting on the number of stitches you need for your project. You can use any cast-on method, but the long-tail cast-on is commonly used for its flexibility and neat edge.
Step 2: Knit the First Row
With the working yarn in the back of your needles, knit each stitch across the row. This will be the right side (RS) of your work. Remember to keep your tension consistent for even stitches.
Step 3: Purl the Second Row
Turn your work so the wrong side is facing you. Now purl each stitch across. This creates the bumpy texture that is characteristic of the back of a stockinette stitch.
Step 4: Repeat Rows
Continue alternating one row of knitting with one row of purling. Keep track of your rows if you’re working on a pattern that requires a specific length or shape. The more you repeat these rows, the longer your stockinette fabric will become.
Common Issues and How to Fix Them
Problem: Curling Edges
One of the most common issues when working with stockinette stitch is the curling of the fabric at the edges. This is a natural consequence of the tension created between knit and purl stitches. Here are a few ways to prevent or fix curling:
- Use a border: Add a few rows of garter stitch (knit every row) or seed stitch on the edges.
- Block the fabric: Wet blocking or steam blocking can help flatten the fabric.
- Use heavier yarn or larger needles to reduce tightness.
Problem: Uneven Stitches
Beginner knitters often struggle with even tension. To improve stitch consistency:
- Practice holding your yarn the same way throughout the project.
- Focus on a steady rhythm of hand movement.
- Switch to smoother yarn that glides easily over needles.
Tips for Perfecting the Stockinette Stitch
Though simple in its structure, the stockinette stitch can be refined and adapted for many creative applications. Here are some tips for taking your stitch work to the next level:
- Use stitch markers to count rows easily and prevent errors.
- Try knitting with circular needles for large stockinette projects to reduce strain on your wrists.
- Practice small swatches before committing to a large piece to test gauge and tension.
Uses for the Stockinette Stitch
Once you’ve learned how to stockinette stitch, you’ll discover it can be used in a variety of knitting projects. Some of the most popular include:
- Simple scarves and cowls with clean edges
- Baby blankets that feel soft and smooth
- Fitted sweaters and cardigans that showcase even texture
- Hats and beanies with minimal pattern work
The stockinette stitch also forms the basis for many more complex stitch patterns, such as cables and lacework. It is a gateway to mastering more advanced knitting techniques.
Stockinette Stitch in the Round
If you’re using circular needles or double-pointed needles, you can work the stockinette stitch in the round. The difference is that instead of alternating knit and purl rows, you simply knit every round. This makes stockinette stitch in the round more streamlined and faster in many cases.
How to Do It
- Cast on your stitches and join in the round, being careful not to twist.
- Knit each stitch continuously for the desired length.
- Bind off when finished, then weave in the yarn ends with a tapestry needle.
Adding Color and Texture
Though stockinette stitch is simple, it can become visually striking when used with multi-colored or variegated yarn. You can also combine it with other stitches to create texture or visual contrast. For example, pairing stockinette sections with ribbing or garter stitch adds depth to your design.
Stockinette Stitch for Beginners
If you’re new to knitting, stockinette stitch is one of the best stitches to practice. It builds muscle memory, helps you understand stitch anatomy, and teaches you the foundational rhythm of knitting. Practicing this stitch will also make it easier to read patterns and understand common knitting terminology such as RS (right side), WS (wrong side), and gauge.
Beginner Practice Project
A good project to start with is a stockinette stitch dishcloth or square. Cast on 30 stitches and alternate knit and purl rows until your work forms a square. This lets you experiment with tension, identify mistakes, and learn how to count rows accurately.
Learning how to stockinette stitch opens the door to countless knitting projects and creative possibilities. While the stitch itself is simple just a combination of knit and purl rows it provides a versatile, elegant texture that can be used in garments, accessories, and home décor. Whether you’re knitting flat or in the round, the stockinette stitch is an essential tool for building skill, confidence, and creativity in your knitting journey. With practice and patience, this timeless technique will soon become second nature.